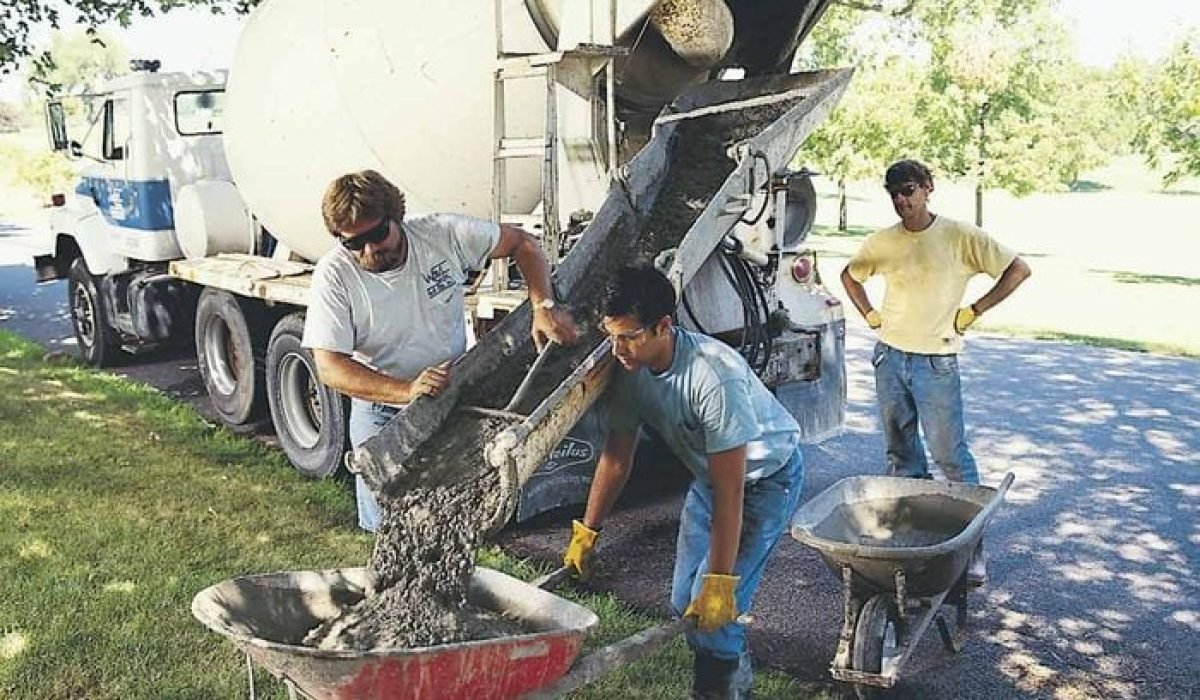
Learn how to pour a concrete slab successfully here.
Before you get started, contact your local building department to see whether a permit is required and how close to the lot lines you can build. In most cases, you’ll measure from the lot line to position the slab parallel to it.
The key to crack-resistant concrete is a firm base that drains well. Unless you have sandy soil, this means adding a layer of gravel.
Pouring a concrete slab is a crucial skill for both DIY enthusiasts and professional builders. Whether you’re laying a foundation for a new garage, a patio, or a driveway, understanding the process is key to achieving a durable and level surface. In this article, we’ll guide you through the steps to pour a concrete slab successfully, ensuring you get the best results for your project.
Why Pouring a Concrete Slab Matters
Before diving into the how-to, let’s discuss why pouring a concrete slab is essential. A concrete slab serves as a stable foundation for various structures, providing support and longevity. When done correctly, it can withstand weather conditions and heavy loads, making it a vital aspect of construction.
Materials and Tools Needed
To pour a concrete slab successfully, gather the following materials and tools:
Materials:
- Concrete mix (ready-mix or bagged)
- Gravel or crushed stone (for drainage)
- Reinforcement (rebar or wire mesh)
- Curing compound (optional)
Tools:
- Shovel
- Rake
- Trowel
- Concrete mixer (if mixing on-site)
- Level
- Edging tool
- Screed board
Step-by-Step Guide to Pour Concrete Slab
1. Planning and Preparation
- Choose the Location: Ensure the area is suitable for your project, away from trees and drainage issues.
- Measure and Mark: Use stakes and string to outline the dimensions of your slab. This helps in visualizing the area and ensures accuracy.
2. Excavation
- Dig the Area: Excavate to a depth of about 4-6 inches for a typical slab. Adjust based on local frost lines and soil conditions.
- Compact the Base: Use a plate compactor or tamper to create a stable base.
3. Create a Formwork
- Build the Frame: Use wooden boards to create a mold for the concrete. Ensure it is level and square, using a level to check alignment.
- Secure the Form: Stake the boards in place to prevent them from shifting when pouring the concrete.
4. Add a Base Layer
- Install Gravel: Pour a 2-4 inch layer of gravel for drainage, leveling it with a rake. This layer helps prevent cracking and allows water to drain away from the slab.
5. Reinforcement
- Place Reinforcement: Lay rebar or wire mesh within the formwork to enhance the slab’s strength. Ensure it’s elevated slightly above the gravel base for optimal performance.
6. Mixing the Concrete
- Prepare the Mix: If using bagged concrete, follow the manufacturer’s instructions. If mixing on-site, combine the appropriate ratios of cement, sand, gravel, and water.
- Consistency Check: Aim for a thick, peanut butter-like consistency to ensure it holds shape during pouring.
7. Pouring the Concrete
- Start at One End: Begin pouring the concrete at one end of the form, moving steadily across the area.
- Use a Screed Board: After pouring, use a screed board to level the surface. Move it back and forth across the top of the form to achieve a smooth finish.
8. Finishing Touches
- Smooth the Surface: Use a trowel to create a smooth surface, working in small sections.
- Add Edges: Use an edging tool along the sides for a polished look and to prevent chipping.
9. Curing the Slab
- Allow to Set: Let the concrete cure for at least 24 hours before removing the formwork. The ideal curing time is 7 days, but it can be extended based on weather conditions.
- Apply Curing Compound: If desired, apply a curing compound to retain moisture and prevent cracking.
Tips for a Successful Pour
- Check the Weather: Avoid pouring concrete on rainy days or when temperatures are extremely low or high.
- Work Quickly: Concrete sets fast; have your team ready to work efficiently.
- Use Proper Safety Gear: Protect yourself with gloves, goggles, and a mask while working.
Conclusion
Pouring a concrete slab is a rewarding project that, when done correctly, can provide a solid foundation for years to come. By following these steps and tips on how to pour concrete slab, you’ll ensure that your slab is not only functional but also durable. Whether you’re a novice or an experienced builder, taking the time to plan and execute the pour properly will pay off in the long run. Happy pouring!

